How to Design a Kitchen Layout: A Step-by-Step Guide for Professionals
Kitchen

Sebastian Lewe

A well-designed kitchen layout is the difference between a space that works and one that frustrates every single day. Whether you are a professional kitchen planner advising clients, a retailer putting together a showroom-quality proposal, or a design student approaching your first real brief, understanding how to plan a kitchen layout from the ground up is a foundational skill.
This guide covers the essential steps: choosing the right layout shape, taking accurate measurements, applying the work triangle principle, maximizing storage, and using design software to bring the whole plan to life.
The 4 Classic Kitchen Layouts: Which One Is Right for Your Space?
Before you pick up a measuring tape or open a design application, start by understanding the four layouts that form the backbone of kitchen planning. Each suits a different room shape, household size, and lifestyle.
L-Shaped Kitchen
Two adjoining walls form an open corner workspace. This layout works well in open-plan homes because it defines the kitchen zone without creating barriers. It adapts to different room sizes and leaves space for a dining area or island if the footprint allows.
- Minimum room size recommended: 10 x 10 ft
- Best for: Open-concept living spaces, medium-sized kitchens, families who want a kitchen that flows into a social space.
U-Shaped Kitchen
Cabinetry and appliances wrap around three walls, creating an enclosed, efficient workspace with maximum counter space and storage. This configuration keeps everything within a few steps. It suits serious cooks who need room to work without interruption.
- Minimum room size recommended: 10 x 13 ft
- Best for: Larger kitchens, households with multiple cooks, anyone who prioritizes prep space and storage capacity.
Galley Kitchen
Two parallel counters face each other with a walkway between them. The galley layout keeps workflow tight and distances short, making it practical for narrow rooms. Aisle width matters: maintain at least 42 to 48 inches between facing units to keep movement comfortable.
- Minimum room size recommended: 7 x 10 ft
- Best for: Narrow spaces, apartments, single-cook kitchens, high-efficiency professional layouts.
Island Kitchen
A freestanding island unit sits at the center of the room, serving as a prep zone, social hub, and often an additional seating area. This layout requires at least 42 to 48 inches of clearance on all sides, so it demands a generous footprint.
- Minimum room size recommended: 12 x 14 ft
- Best for: Large, open kitchens where cooking and entertaining overlap. Families where the kitchen is the center of the home.
L-Shaped vs U-Shaped vs Galley vs Island: A Quick Comparison
| Layout | Min. Room Size | Best For | Key Trade-off |
| L-Shaped | 10 x 10 ft | Open-plan, medium kitchens | Corner space can be wasted without the right storage solution |
| U-Shaped | 10 x 13 ft | Multiple cooks, max storage | Can feel enclosed in smaller rooms |
| Galley | 7 x 10 ft | Narrow spaces, apartments | Limited space for more than one cook |
| Island | 12 x 14 ft | Large, social kitchens | Requires significant floor space to function well |
For a deeper look at how layout choice connects to workflow efficiency, see our guide: What is the kitchen triangle rule? A guide to functional kitchen design
Step 1: Take Accurate Measurements
Precision at this stage prevents expensive problems later. Inaccurate or approximate measurements are one of the most common, and most costly, mistakes in kitchen planning.
What to measure:
- Overall room dimensions: length, width, and ceiling height
- Position and width of every door and window, including swing direction
- Location of existing plumbing connections (sink drain, water supply)
- Electrical outlets, switches, and any fixed appliance connections
- Structural features: columns, soffits, beams, radiators, or recesses
- Ventilation and extraction points
Key dimensions to keep in mind:
| Dimension | Measurement |
| Walkway width (single cook) | Minimum 42 inches (1,060 mm) |
| Walkway width (multiple cooks) | Minimum 48 inches (1,220 mm) |
| Countertop clearance beside sink | Minimum 300 mm |
| Countertop clearance beside hob | Minimum 400 mm |
| Base cabinet depth | Typically 600 mm |
| Island clearance (all sides) | Minimum 42 to 48 inches |
Sketch the room to scale on graph paper or in a floor plan application before moving to layout selection. Account for door and appliance swing radii. A refrigerator or dishwasher that cannot fully open because of a nearby cabinet is a common and avoidable mistake.
Step 2: Plan the Work Triangle
The kitchen work triangle connects three primary zones: the hob (or cooktop), the sink, and the refrigerator. The concept dates to the 1920s and remains a core principle of kitchen planning because it reflects how people actually move during meal preparation.
The recommended guidelines:
- Each leg of the triangle should be between 4 and 9 feet (1.2 to 2.7 meters)
- The total perimeter of the triangle should fall between 13 and 26 feet (4 to 8 meters)
- No leg of the triangle should be interrupted by a main traffic route or island by more than 12 inches
- The sink is typically best positioned between or across from the prep zone and cooktop
The triangle adapts to each layout type. In a galley kitchen, the three points sit on two parallel runs. In a U-shape, they distribute across three walls. In an L-shape, two points anchor one wall with the third on the perpendicular run. For island kitchens, the island can house the sink or hob to become an anchor point.
Modern Kitchens and the Zone Method
In larger kitchens serving multiple cooks, designers increasingly complement the triangle with a zone-based approach. Rather than three fixed points, the kitchen is divided into functional zones:
- Consumables zone: refrigerator, freezer, and pantry storage
- Prep zone: countertop space, cutting boards, and prep accessories
- Cooking zone: hob, oven, and extraction
- Cleaning zone: sink, dishwasher, and waste disposal
- Non-consumables zone: dishes, cookware, and utensils
The zone method does not replace the triangle. It extends the principle to handle complex layouts and multi-user kitchens.
Learn more about how the work triangle functions across different layout types: What is the kitchen triangle rule? A guide to functional kitchen design
Step 3: Plan Storage and Countertop Space
Layout shape and the work triangle set the structure of the kitchen. Storage and countertop planning determine whether it actually functions day to day.
Countertop Space
The National Kitchen and Bath Association (NKBA) recommends at least 36 inches of uninterrupted countertop space near the sink for food preparation. Beyond that, plan landing space beside every major appliance: somewhere to set down hot pans, grocery bags, or plated dishes.
If the layout is tight, resist the temptation to fill every surface with built-in appliances. An appliance-heavy counter that leaves no room to work is a frequent and frustrating design error.
Storage Planning
- Work from frequency of use. Items used daily should be within easy reach at a comfortable height. Heavier or rarely used items go in lower or higher cabinets.
- Use vertical space. Extend wall cabinets to ceiling height where possible to maximize storage, particularly in smaller kitchens.
- Solve the corners. L-shaped and U-shaped kitchens create corner cabinets that are notoriously difficult to access. Plan for corner carousel units, pull-out solutions, or angled drawers from the start. Retrofitting these later is harder and more expensive.
- Plan pull-out drawers. Deep lower cabinets are hard to reach into. Pull-out drawer inserts improve accessibility significantly.
- Check for conflicts. Confirm that adjacent cabinet and appliance doors will not collide when open simultaneously, particularly the dishwasher next to a corner unit.
A kitchen that runs out of storage within a year of installation is a planning failure, not a product failure. Build in more than you think you need.
Step 4: Visualize the Layout with Design Software
Once measurements are locked in, the work triangle is mapped, and storage zones are planned, the next step is to bring the design to life visually. This is where planning moves from functional logic to a finished, communicable design.
Working in 3D allows you to spot problems that a floor plan alone will not reveal: whether a tall unit blocks natural light from a window, how a hob position interacts with an extraction point, or whether the island leaves enough circulation space.
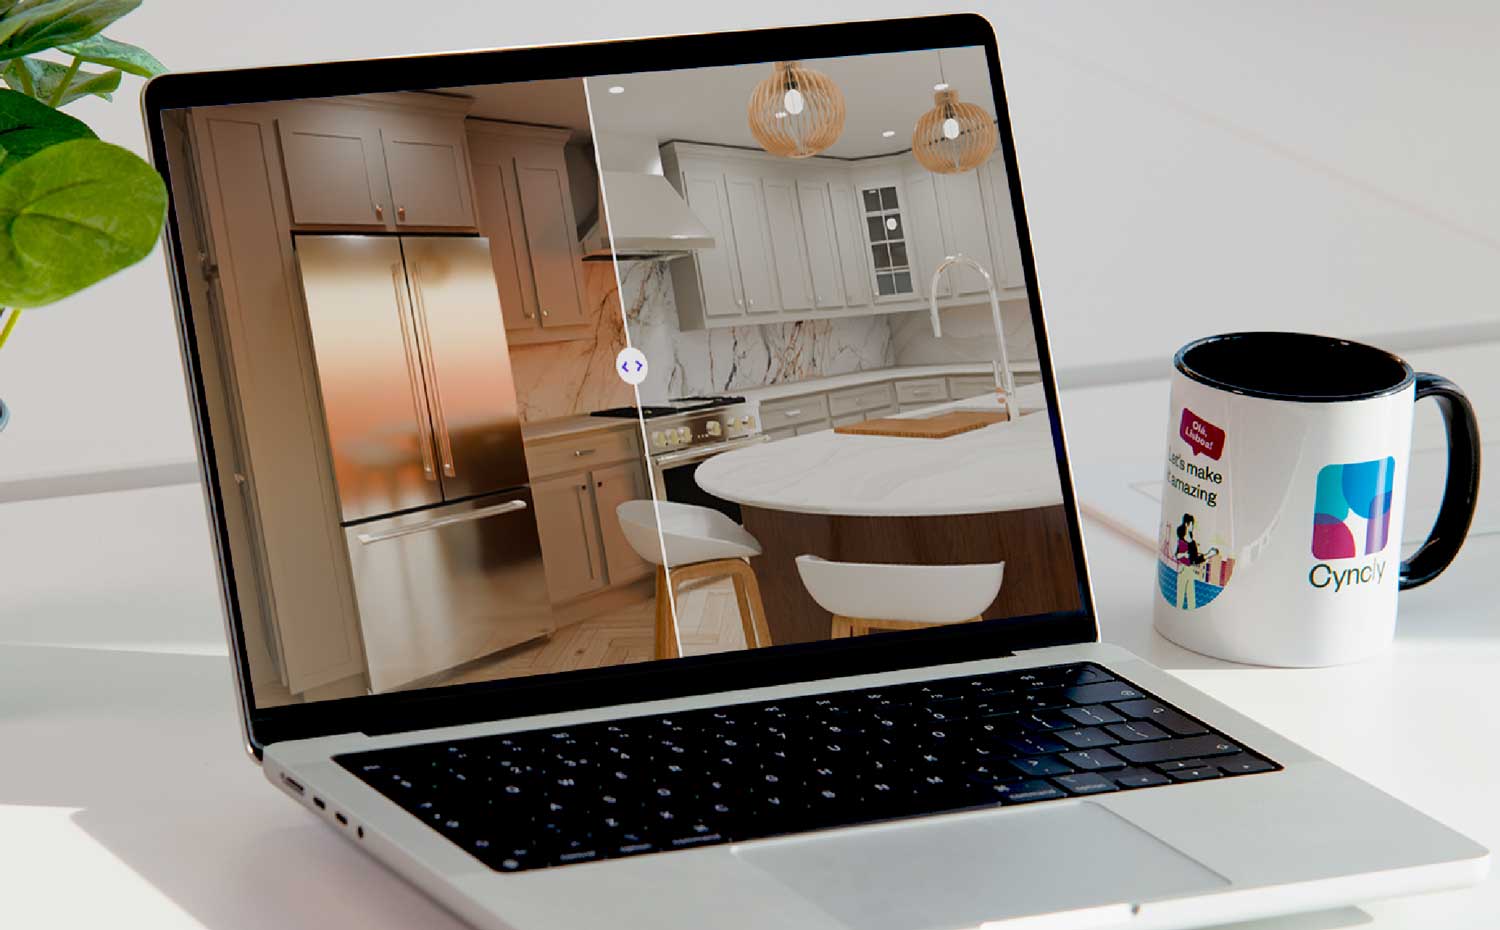
Design Flex by Cyncly is built for this stage. It is a cloud-based kitchen and bathroom design platform that enables professionals to design, render, and present projects with precision.
Key capabilities include:
- Photorealistic rendering through an AI rendering engine that simulates real-world light, reflections, and shadows, giving clients an accurate picture of the finished space
- Access to over 1,000 manufacturer catalogues with real-time product configurations and pricing from brands such as Bosch, Miele, Blum, and Fabuwood
- 360-degree panoramic views for immersive client presentations
- Pro 3D Room Build for accurate dimensional modelling from your measured floor plan
- Flex Cloud for device-agnostic access, automatic project backups, and team collaboration
For kitchen planners, the ability to move quickly from a measured brief to a rendered, priced proposal shortens the design cycle and gives clients the confidence to commit. Presenting a photorealistic kitchen with the actual products specified is a different conversation to presenting a flat 2D plan.
Common Kitchen Layout Mistakes and How to Avoid Them
Even experienced designers fall into familiar traps. These are the issues that appear most often, and the adjustments that prevent them.
Treating measurements as approximate
Approximate dimensions lead to cabinets that do not fit, panels that go missing, and layouts that need expensive rework. Measure twice. Capture every architectural feature, including soffits, columns, and beams. Account for cover panel thicknesses and appliance clearances.
Ignoring appliance door swings
A refrigerator that opens into a walkway, or a dishwasher that blocks a corner cabinet when open, creates daily friction. Note the swing direction and opening arc of every appliance during the measurement phase, before finalizing cabinet positions.
Adding an island when the room is too small
An island only improves a kitchen when there is enough floor space to maintain comfortable clearance around it. In a room that cannot support it, the island becomes an obstacle. The kitchen should be at least 12 feet wide and 14 feet deep before a freestanding island is seriously considered.
Under-planning countertop space
More appliances means less prep surface. Every built-in appliance that takes up counter space needs to justify its position against the loss of workspace. Plan your prep flow first, then fit the appliance layout around it.
Routing household traffic through the work triangle
If the main path through the house crosses through the cooking zone, the kitchen becomes difficult to use the moment more than one person is in the room. Position the primary traffic route around the work triangle, not through it.
Finalizing layout before material selection
Stone slab dimensions, tile sizes, and cabinet panel dimensions all constrain what is physically possible. Finalizing an island size only to discover the countertop slab cannot cover it without a visible seam is an avoidable problem. Check material specifications in parallel with layout planning.
Checklist: Is Your Kitchen Layout Ready?
Before signing off a design, run through these questions:
- Have all room dimensions, window and door positions, and service connections been measured accurately?
- Does the work triangle connect hob, sink, and fridge with each leg between 4 and 9 feet?
- Is the main household traffic route clear of the primary cooking zone?
- Is there at least 36 inches of uninterrupted prep countertop space near the sink?
- Do all appliance and cabinet doors open without obstructing one another?
- Is there adequate clearance around any island or peninsula (minimum 42 inches on all sides)?
- Has storage been planned by frequency of use, with corner solutions specified?
- Has the layout been visualized in 3D, with real product configurations and accurate dimensions?
- Have lighting zones been planned for ambient, task, and accent lighting?
- Has the design been reviewed against the client's daily cooking and household routine?
If the answer to all ten is yes, the layout is ready to move forward.
Frequently Asked Questions
What is the best kitchen layout for a small room?
A galley kitchen is typically the most efficient layout for narrow or small rooms. Two parallel counters keep everything within a short distance, and the minimum recommended room size is just 7 x 10 ft. For slightly larger small rooms, an L-shaped layout also works well, with a minimum footprint of 10 x 10 ft.
How much clearance does a kitchen island need?
A kitchen island requires at least 42 to 48 inches of clearance on all sides to allow comfortable movement. The room should be at least 12 feet wide and 14 feet deep before a freestanding island is seriously considered.
What are the standard kitchen cabinet dimensions?
Standard base cabinet depth is typically 600 mm. Countertop clearance beside the sink should be a minimum of 300 mm, and beside the hob a minimum of 400 mm. Walkway width for a single cook should be at least 42 inches (1,060 mm), and 48 inches (1,220 mm) for kitchens used by multiple cooks.
What is the kitchen work triangle rule?
The kitchen work triangle connects the three primary work zones: the hob, the sink, and the refrigerator. Each leg of the triangle should be between 4 and 9 feet, and the total perimeter should fall between 13 and 26 feet. The principle ensures efficient movement during meal preparation by keeping the three most-used points within a short, unobstructed path.
What is the zone method in kitchen design?
The zone method divides the kitchen into five functional areas: a consumables zone (refrigerator and pantry), a prep zone (countertop and cutting space), a cooking zone (hob and oven), a cleaning zone (sink and dishwasher), and a non-consumables zone (dishes and cookware). It complements the work triangle in larger kitchens or layouts used by more than one cook at a time.
How do I plan a kitchen layout step by step?
Start by choosing the right layout shape for your room size and lifestyle. Then take accurate measurements of the room, including doors, windows, plumbing, and structural features. Map the work triangle between hob, sink, and refrigerator. Plan storage and countertop space around daily workflows. Finally, use 3D kitchen design software to visualize and validate the layout before anything is ordered or installed.
Conclusion
Designing a kitchen layout well is a disciplined process. It starts with precise measurements, builds on proven planning principles like the work triangle, and accounts for the practical realities of storage, countertop space, and daily traffic flow. When each step is followed in sequence, the result is a kitchen that works efficiently from the first day and continues to work years later.
The difference between a layout that looks good in a presentation and one that performs in daily use often comes down to how thoroughly it was planned. Taking the time to get each step right, and using design software to visualize and validate before anything is ordered or installed, separates a confident design from a costly revision.
Explore Design Flex: kitchen design software built for professionals
Share this article
Related blogs
Design Flex 2026: What's new and why it matters for your showroom
10.06.2026
Design Flex 2026 brings photorealistic rendering via the Cycles engine, cloud-based project management, and integrated payments.
Esprit Meuble winner: Turn inspiration into accurate designs
08.12.2025
Cyncly’s Spaces Flex AI Inspire Image-to-Design won first place at Esprit Meuble. Here is what the capability does, why it matters, and what the award signals for kitchen and bath teams.

How brand inconsistency threatens kitchen/bath retail expansion
31.08.2025
A fragmented experience across locations can erode customer trust. Here’s how to preserve your brand while scaling your kitchen and bath business.